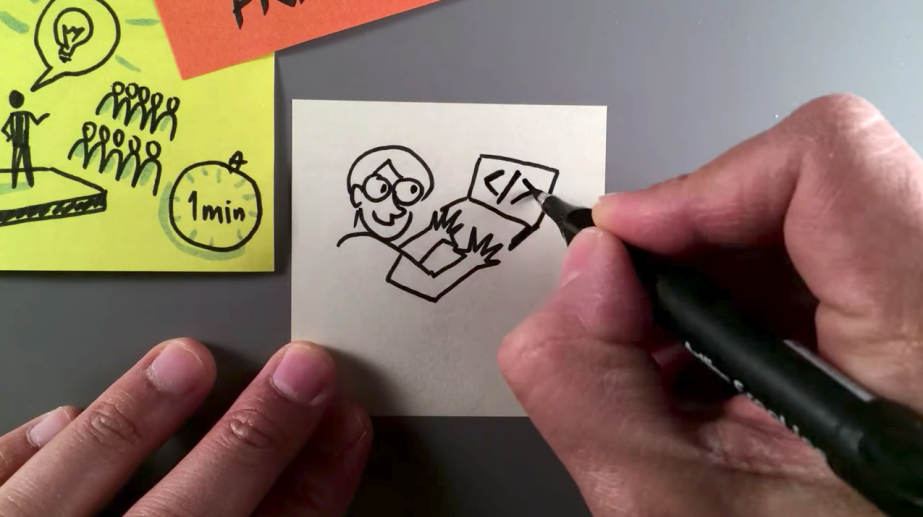
I created a hand-crafted explainer video out of sticky-notes. Let me explain.
I was approached by Lucas and Marie-Amelie who were on the organisation team for the upcoming Startup Weekend ‘Changemakers’ edition (2015). Apart from the need to develop visuals to promote the event, they also wanted to create a promotional video out of sticky-notes.
I’d like to walk you through my process:
-
script
-
storyboard
-
inspiration
-
set design
-
filming
-
editing
Before we dive into it, check out the end result below.
(Check out more of my hand-drawn explainer videos here)
SCRIPT
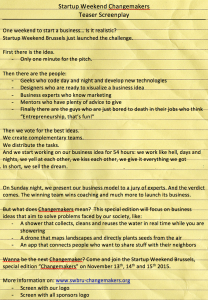
I first met Lucas and Marie-Amelie to discuss expectations for the explainer video. They wanted the video to reflect the joys and challenges of taking part in a startup weekend. I had attended a couple of startup weekends in the past so I knew the sort of ‘vibe’ they wanted the video to reflect. We agreed to a 2 minute video. Before starting any video project, you have to start with a script. The final script totalled 296 words. The tone of voice we were looking for was ‘fun’.
 INSPIRATION

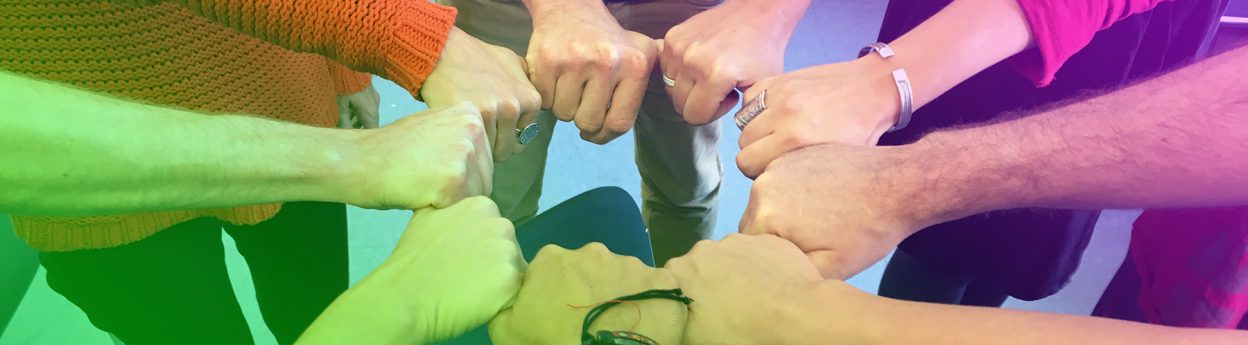
One of the earliest ideas they had was to use sticky-notes in the video. During a startup weekend participants go through tons of sticky-notes. It made sense to reflect that in the video. I had never created a video with sticky-notes before so I was totally up for the challenge.

STORYBOARD
Creating a storyboard from a script can be a tricky task. How do you know where to split the script? You have to think in pictures, or in this case, think in ‘sticky-notes’. One sticky-note per idea. Or even one small sketchnote per sticky-note. I limited myself to two sizes of sticky-notes – 76x76mm and 76x127mm. I also wanted to use various colours too. I decided to focus on getting the visuals down first then figure out the colour scheme after I got storyboard approval from the client. Check out the storyboard here. The storyboard is formatted into three columns – first column for number of the frame, second for the narration and third for the visuals. Using numbers helps the client identify which frame they’d like to give feed back on. The visuals in the storyboard are very rough which is more than enough to convey the message.

SET DESIGN
Once I got script approval I pulled out all my sticky-notes to figure out the layout. It took some time shuffling the sticky-notes around on my desk until I found a composition I was happy with. I was happy with the grey colour of my desk as it made the colourful sticky-notes stand out well. I also wanted the final image to have all sticky-notes in frame. This is when I decided that it will flow in a circular motion. Starting from the top going clock-wise. While I was setting up the sticky-notes I realised that I didn’t highlight the 3 days of the event in the storyboard. I solved it by using smaller sticky-notes (25x76mm) to point out the days.

FILMING
I like to have the voice-over (narration) delivered to me before I start filming. This gives me an idea of the rhythm of the video. Listening to the voice-over while re-viewing the storyboard helps me imagine what the final video would look like. It helps me decide framing (shot size) and if I’ll use any transitions in the final edit such as a ‘dissolve’ or a ‘wipe’. Best to decide on transitions before filming.

Since the sticky-notes are very small, I had to position the camera very close to the table. I was not pleased with the lighting as I had a lot dark shadows caused by my hands. I didn’t have extra lights, but I knew I could get away with it since all eyes will be on the sticky-notes and the video will be sped up.
In the storyboard at frame number 3 I included all 5 categories of people into a single frame, but then in the final video, I separated each category into a separate sticky-note. That happens sometimes as I like to improvise during the filming stage. Certain challenges arise in the filming stage that you didn’t expect when drafting the storyboard. Or sometimes you find another solution to shoot a certain scene which you didn’t think of when you had storyboarded it. Sometimes I shot alternative scenes then decide in the editing stage if I’ll keep it or not. This is why I find making these hand-crafted videos so exciting.
EDITING
I love the editing stage when you bring the shots, the voice-over and background music all together.
In the past I used to edit a lot on my iPad using Pinnacle Studio Pro as I had found it very easy to use and it supported Dropbox too. I sometimes use iMovie on my iPhone6 for quick edits which works very well too. Nowadays I’m using Adobe Premiere Pro CC on my laptop. It obviously makes synchronising video to the narration very easy.

I didn’t use any transitions (dissolves, wipes, fade-in, etc.) between scenes for this video. I made sure during filming that each scene included the previous sticky-note in one corner of the video frame. This helps the viewer keep orientation of the space and direction the sticky-notes are being placed.
I added a ‘zoom-in’ at 1:21 of the video as I felt the video needed some form of bridge into the next part of the video. It also acted as a short pause in the video giving your eyes a break from all that quick drawing.
CONCLUSION

I had a great time working on this hand-crafted video. I got to try out a different way of conveying a message. Besides who doesn’t like playing around with sticky-notes? The client was very happy with the end result. I was also hired to graphic record all the pitches of the event and coach participants shape their final pitch. I got to connect with awesome entrepreneurs. Check out the post-event video here
Client testimonial

Thanks for reading! If you have any questions, please drop me a line in the comments section below. Very happy to share the experience.
(Check out more of my hand-crafted videos here)

LOOOOOVE this post, Chris!!! GREAT video!!! And thank you soooo much for all the behind the scenes infos and your thoughts around the creation process! I want to make explainer videos too at some point and this is very inspiring!!
LikeLiked by 1 person
Thank you Ayoka. Glad you found it inspiring. Hope you’ll produce your first explainer video soon. The first one is always the most difficult. It gets easier with practice. The important thing is to have fun. Good luck and I look forward to viewing it!
LikeLike
You are fantastic!! Dreaming of reaching your skill level!!
LikeLiked by 1 person
Thank you. Stop comparing yourself to others. Do you!
LikeLike